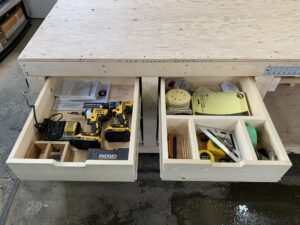
You’ve spent hours (or even days) building the perfect woodworking project—but when it’s time to finish, disaster strikes. Blotchy stain, uneven surfaces, or brush strokes ruin the final look. Frustrating, right?The good news? A flawless wood finish isn’t as hard as you think. You just need these 3 simple tricks to get that smooth, professional-grade look every time!
I learned these tricks the hard way. My first few projects looked awful—streaky varnish, dust specks, and a rough texture that no amount of sanding could fix. I was ready to give up on achieving that showroom-quality finish…

Until I discovered these 3 game-changing techniques:
✅ Prepping Like a Pro – Sanding isn’t just about smoothing; it’s about progressing through grits (80 → 120 → 220) and always finishing with a light hand-sanding. Also, wipe off dust with a tack cloth before applying any finish.
✅ The Secret of Wood Conditioning – Softwoods like pine absorb stain unevenly, leading to ugly blotches. A simple pre-stain wood conditioner ensures a smooth, even tone that looks flawless.
✅ Applying Finish the Right Way – Instead of brushing on thick layers (which leave streaks), apply multiple thin coats with a lint-free cloth or foam brush. Let each layer dry and lightly sand between coats for a glass-smooth finish.
These three tricks changed my woodworking game. Now, every project looks professionally done—no streaks, no blotches, just a beautiful, smooth finish that makes my work stand out.
Conclusion
Want to take your woodworking projects to the next level? Stop guessing and start building with confidence!
I’ve got a FREE Woodworking Plan that includes step-by-step guidance for a beginner-friendly project. Grab it now and build something stunning with a flawless finish!
👉 Download Your FREE Woodworking Plan Now!
Don’t let another project end in frustration. Use these tricks, get the right plans, and create woodworking masterpieces! 💪✨